

One application for all Trikdis devices


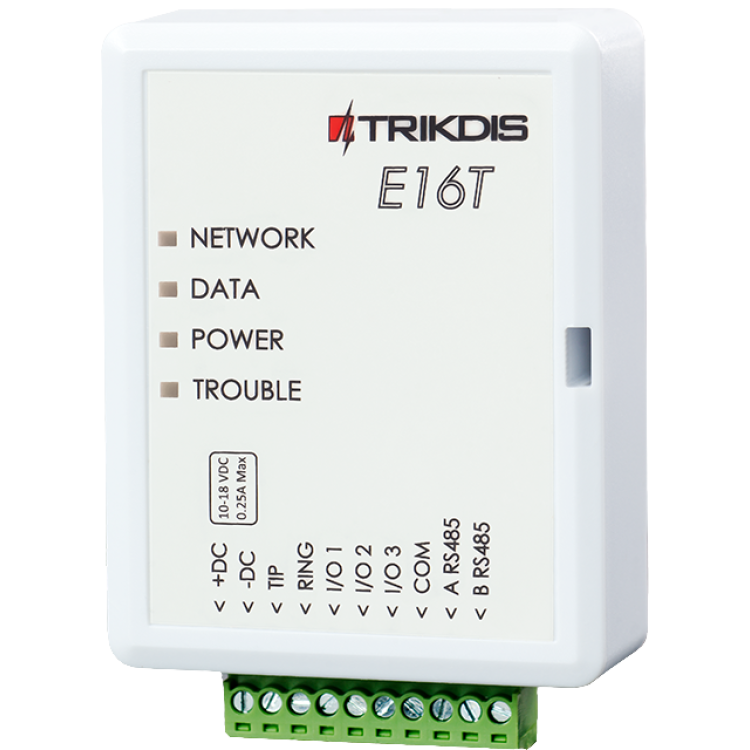
Trikdis E16T Ethernet universal communicator - IP module
- Manufacturer: Trikdis
- Item code: E16T
- Availability: In Stock
- Warranty: 2 years
- Categories: Alarm Communicator > Ethernet Communicator

-
€86.90 Ex Tax: €70.65
E16T with DSC PowerSeries Neo – Ethernet communicator setup with Protegus
This video shows how to set up the TRIKDIS E16T Ethernet communicator with a DSC PowerSeries Neo control panel and the Protegus application.
Trikdis E16T Ethernet smart communicator can connect to any alarm control panels telephone line (TIP RING) terminal for event transmission via wired Internet.
That is why we call it a universal communicator: it is brand-independent — it works with any alarm panel that has a telephone (TIP RING) dialler.
Communicator also works with Protegus 2 Android / Iphone and web app. With Protegus 2 users can control their alarm system and appliances remotely and get notifications about security system events. Communicator can transmit event notifications to the Central Monitoring Station and work with Protegus 2 simultaneously.
Communicator transmits full event information to the Central Monitoring Station.


Trikdis communicators are excellent replacements for Paradox and DSC IP modules and SIM card communicators (e.g. Paradox IP150, IP150+, IP180, PCS250, PCS265LTE; DSC ENVISALINK4, TL / LE series).
What does Trikdis offer?
- Reliable operation
- Free Android, iPhone and web application
- Event monitoring
- Remote control (arming / disarming)
- Direct connection to the alarm control panel — for many compatible models
- IP and GSM/LTE communication in one device — dual path, multi-channel
Main features:
- Ethernet, IP-based communicator
- Connects to control panel to telephone line (TIP-RING) terminals.
- When Protegus 2 service is enabled, events are first delivered to CMS, and only then are sent to app users.
- No fixed IP nor dynamic DNS is required, the messages are transmitted by the Protegus 2 server securely
Notifies users:
- Users are notified about events and can control the system via the free Protegus 2 Android / Iphone and web app
- “Push” and special sound notifications informing about events.
- Remote system Arm/Disarm using key switch zones.
Controllable outputs:
- 3 double I/O terminals that can be set either as input (IN) or controllable output (OUT) terminals.
- Outputs controlled by the Protegus 2 app.
- Add additional inputs and controllable outputs with iO expanders via RS485 port
- Remote control of connected devices (lights, gates, ventilation systems, heating, sprinklers, etc.).
Quick setup:
- Settings can be saved to file and quickly written to other communicators.
- Two access levels for configuring the device for CMS administrator and for the installer.
- Quick and easy configuration and firmware updates via USB or remotely after initial setup with Trikdis programming software.
Central monitoring station:
- Sends events to Trikdis software or hardware receivers that work with any monitoring software.
- Can send event messages to universal SIA DC-09 and SUR-GUARD TL150 receivers
- The module transmits the messages of the control panel to the monitoring station in Contact ID code format
- Connection supervision by polling to IP receiver every 30 seconds (or by user-defined period).
- Backup channel, that will be used if connection with the primary channel is lost.
- With parallel communication channels events can be sent to two receivers at the same time.
Communication
To Protegus cloud, to iOS/Android Protegus mobile apps
Compatible devices
Contacts (inputs and outputs)
Programming
Users
Technical data
- TrikdisConfig programming software (windows)
- E16T Hungarian installation guide (1.49MB)
- E16, E16T GRADE 4 certification (282.4KB)
Related Products

Related Articles

Protegus Android / Iphone and web app
- 27/01/2018
The free Protegus mobile and web app lets you remotely manage your alarm system – compatible with any manufacturer.
Read More
Installer Registration and Company Logo Setup in the Protegus App
- 06/03/2019
Step-by-step guide to Protegus installer registration and company logo setup – completed in 5–10 minutes.
Read More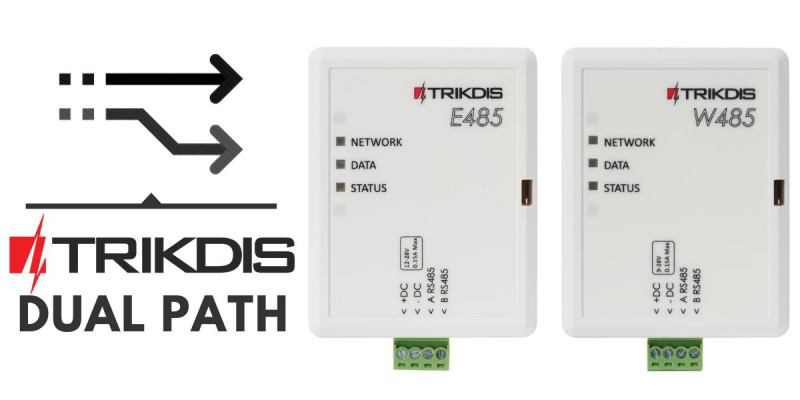
Dual Path – Redundant Channel Solutions from Trikdis
- 01/12/2019
Trikdis W485/E485 modules: redundant communication channel alongside GSM communicators, with lower data costs.
Read More
New to Trikdis? A Quick Introduction to the Products
- 28/08/2019
Quick overview of the Trikdis product family: communicators, alarm control panels, gate controllers and Protegus 2.
Read More
New Supported Protocol for Trikdis Communicators – Sur-Gard TL-150
- 08/02/2020
Trikdis communicators now support Sur-Gard TL-150 protocol – no IPcom virtual receiver required.
Read More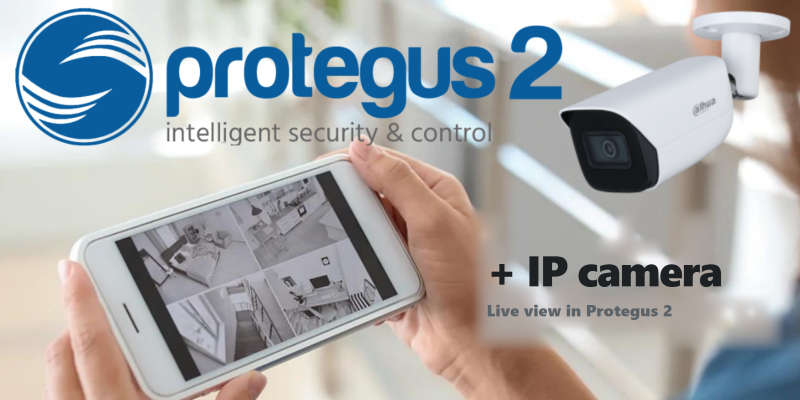
How to Add an IP Camera to Protegus 2
- 01/03/2022
How to add an IP camera live stream to the Protegus 2 app via RTSP link.
Read More
Protegus 2 Browser Interface Renewed
- 30/11/2023
The renewed Protegus 2 browser interface and the new layout explained.
Read More
Try Protegus 2 on a Live System
- 20/02/2024
Try the Protegus 2 app on a real live system with test credentials.
Read More
DSC Power Series NEO and Trikdis Communicators: Compatibility and Solutions
- 01/03/2025
Are DSC Power Series NEO systems compatible with Trikdis special communicators? Solutions and alternatives.
Read More
Comparison Table of TRIKDIS Communicators for Alarm Systems
- 01/04/2025
Overview of TRIKDIS alarm communicators by connection type and communication method. Find the right model for your alarm system.
Read More
E16T communicator – installer and user manual
- 05/11/2026
Installer and user manual for the Trikdis E16T Ethernet communicator: connection to the alarm control panel, network setup in TrikdisConfig, reporting to the monitoring station, Protegus 2 app, testing and troubleshooting.
Read MoreTags
Frequently asked questions
Traditionally via telephone line (TIP/RING) — a universal solution that lets devices communicate regardless of brand. Trikdis's own development means that panels on the supported list (and only those) can also be connected directly and digitally via serial port or data cable — as far as we know, no one else offers this, backed by 10-15 years of development.
Protegus 2 is the 2nd generation of Trikdis's cloud app: control your alarm system from your phone and get instant notifications. We recommend it for every current internet-connected Trikdis device. The user app is free; the paid, usage- (customer-) based tier is for monitoring stations, installers and companies.
Check the product page of any direct-connection communicator — e.g. E16, G16, GT, GT+, GET: if your panel's model is on the supported list, we strongly recommend that one. In every other case, choose the telephone-line (TIP/RING) version. Pick the communication type (4G / Ethernet) based on what's available on site.
Yes, using the TrikdisConfig programming software (via USB or remotely). The latest firmware is recommended for the best compatibility and security.
Yes: Protegus 2 can be tried on a live demo system, without installation or purchase — from a browser and from the mobile app too. This lets you see in advance what arming, notifications, and system status look like on a working alarm system.
Protegus 2 typically retains the event list for up to two months; with a large volume of events, this period may shorten to as little as one month.
The AUX power output of the Paradox SP4000 alarm panel has limited load capacity. In certain cases — whether using a dedicated or a universal TRIKDIS communicator — the communicator's current draw can place too much load on the AUX output. As a result, the communicator may become unstable, restart, or fail to operate correctly.
Experience shows that the problem is usually solved by powering the TRIKDIS communicator directly from the alarm panel's battery terminals (+/-) instead of from the AUX output. This provides a stable power supply and eliminates the restart or operational issues.
Note: Before changing the wiring, always check that the system complies with the manufacturer's specifications and that the total load on the power supply does not exceed the permitted value.
For decades, alarm panels reported events to the monitoring station over the fixed telephone network: the telephone dialler built into the panel “made calls” in a standard format — typically Contact ID (CID). It became such a universal standard that the TIP/RING connection is still present in almost every panel from every manufacturer, including the newest ones.
The fixed telephone line is disappearing, but the connector has found a new life: a modern communicator (such as the Trikdis E16T or G16T), wired to the TIP/RING terminals, “presents” a telephone line to the panel — providing line voltage and a dial tone. The panel believes it is calling the monitoring station; in reality the communicator answers the call, decodes the Contact ID message and forwards the event over the internet or the mobile network to the monitoring station and the Protegus 2 app.
The great advantage of this solution is brand independence: it works with practically any panel — even decades old — that has a telephone dialler, with no direct bus or serial integration. That is why we call this type of device a universal communicator.
Put the communicator on a separate, isolated network or VLAN with no access to the internal LAN. Local firewall and filtering rules then cannot block its outgoing connection, and the alarm device cannot see the internal machines either. No inbound port forwarding is needed — outgoing internet access is enough.
The symptom: the Ethernet-connected device — E16, E16T, GET or FLEXi SP3 — is on the network and gets an IP address, yet no connection is established towards Protegus 2 or the monitoring station.
Why: in most such cases the device is not at fault; the local network simply will not let it out. On company and institutional networks this is caused by a firewall rule, a content filter, a proxy, MAC filtering or a strict VLAN policy. In our experience this happens almost exclusively on closed corporate networks — but there we have run into it several times already.
The recommended solution: put the communicator on a separate, isolated network or VLAN with no access to the internal LAN. This solves two things at once:
- the internal network's rules do not interfere with the communicator's outgoing traffic;
- it is also the right arrangement from a security point of view: the alarm device cannot see the internal machines, and a possible infection of the internal network cannot reach the communicator.
What the device needs:
- outgoing internet access, without filtering;
- DHCP, or with a fixed IP address the correct gateway and DNS;
- no inbound port forwarding is required — the communicator establishes the connection outwards itself.
If a separate VLAN is not possible: on the firewall, exclude the device's IP address from content filtering and from the proxy, and allow its outgoing traffic without restrictions.
And keep in mind: a communicator has two separate connections — one towards the alarm panel (bus or TIP/RING) and one outwards (Ethernet or SIM). This fault affects the outward side; communication with the panel may well be working.
The Starlink router may block the E16's communication, and since it is not manageable, this cannot be resolved on it. Turn on Bypass Mode in the Starlink app and connect the E16 to your own router (for example TP-Link) that is connected to Starlink.
The symptom: the E16 is connected to Starlink internet through the Starlink router, yet it cannot reach the monitoring station. The TROUBLE LED blinks 6 times, which according to the manufacturer's manual means there is no connection with the monitoring station's receiver.
Why: the Starlink router may block the communicator's traffic. The Starlink router is not manageable, so this cannot be resolved on it. The solution is to take the Starlink router out of the path and let your own router manage the network.
The solution:
- In the Starlink app settings, turn on Bypass Mode (Settings → Bypass Mode). It roughly corresponds to the bridge mode familiar from modems: the Starlink router switches off, its WiFi is disabled too, and from then on your own router manages the network.
- Connect the WAN port of your own router (for example TP-Link) to Starlink, with the WAN set to DHCP. How to connect differs by Starlink kit (some need the Starlink Ethernet Adapter); Starlink support describes it kit by kit.
- Connect the E16 to one of the LAN ports of your own router. If the E16 has a fixed IP address, adjust it to your router's address range (gateway, DNS); with DHCP it gets an address automatically.
Note: according to Starlink, Bypass Mode can only be turned off by a factory reset of the Starlink router.
If the connection still fails behind your own router, also see the questions about switch loop protection and closed corporate networks.