Trikdis FLEXi Keypad SK-LCD button – Brief User Guide
- 01.07.2025
- Manufacturer: Trikdis

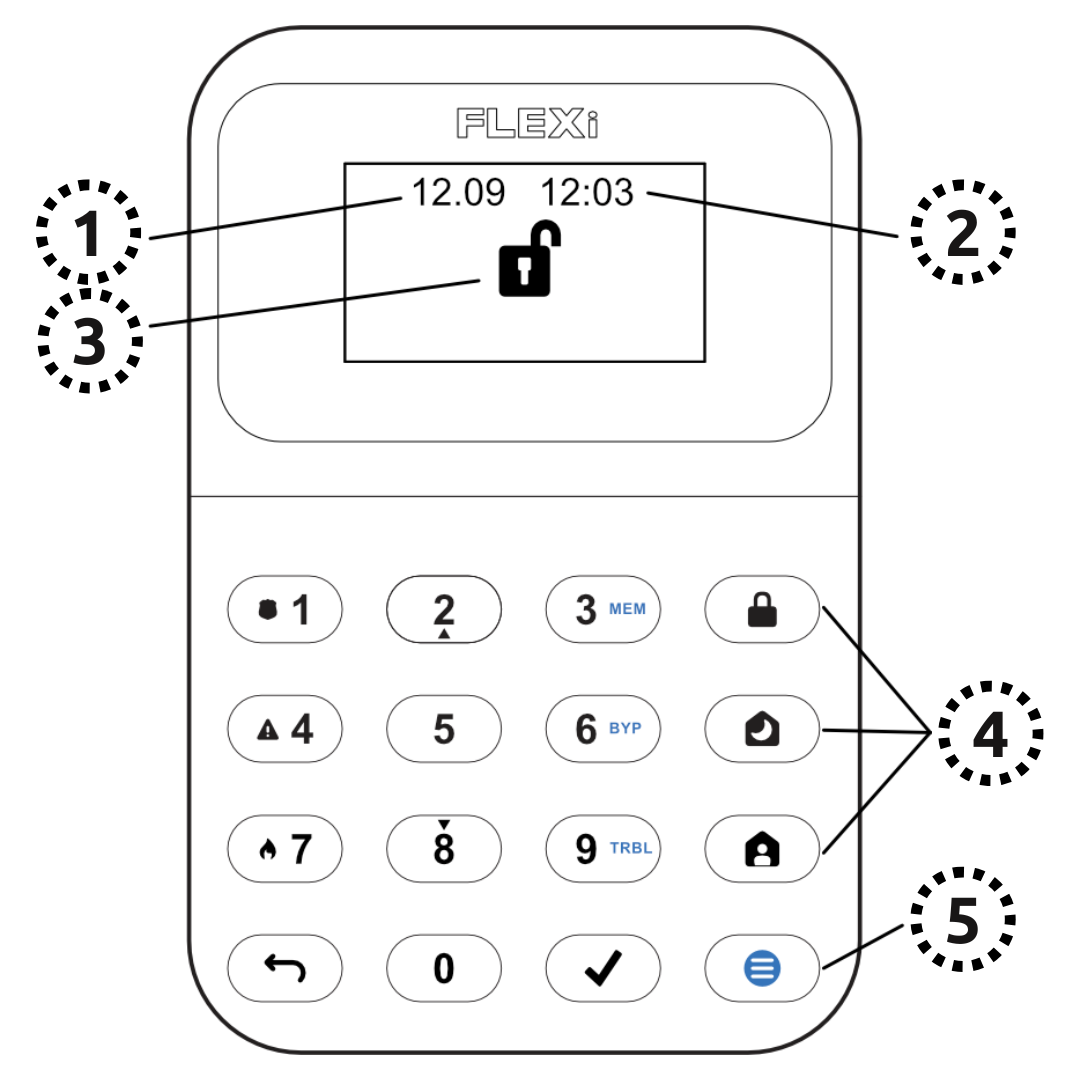
Function Overview
- Date
- Time
- Area Status Indication
- Area Control Buttons
- Menu Button
Alarm System (Away) ARMING
- Make sure no zones are violated.
- Press the [

 ] button.
 - Enter your user code.
- Select the area.
- Press the [
 ] button.
 - Leave the area within the exit delay time.
When the system is armed, the  icon appears on the display.
Alarm System DISARMING
- Enter your user code.
- Select the area.
- Press the [] button.
When the system is disarmed, the  icon appears on the display.
NIGHT / SLEEP Mode
The building's perimeter is secured, free movement inside is allowed. Alarms upon door/window opening.
- Press the [
 ] button.
 - Enter your user code.
- Select the area.
- Press the [] button.
- NIGHT arming activates immediately.
The  icon appears on the display when NIGHT arming is active.
STAY Mode
There is an entry delay. Free movement inside is allowed.
- Press the [
 ] button.
 - Enter your user code.
- Select the area.
- Press the [] button.
- STAY arming activates immediately.
The  icon appears on the display when STAY arming is active.
To change the area status, simply enter the user code and select the desired area. To clear entered commands, press the [ ] button.
Adding a new code / Modifying an existing one:
- Press the [
 ], then the [0] button.
 - Enter the master code (default: 1234).
- Enter the two-digit serial number of the user (e.g., 02).
- Enter the new code twice.
- Select the areas assigned to the user.
- Press the [] button.
To exit, press the [] button again.
Note
- Master code serial number: [01]
- Codes consist of 4 digits.
Deleting a user code:
- Press the [], then the [0] button.
- Enter the master code.
- Enter the two-digit serial number of the user (e.g., 02).
- Press the [] button. (A confirmation sound will be heard.)
- Press the [] button.
To exit, press the [] button again.
Activating Bypass:
- Press the [], then the [6] button.
- Enter your user code.
- Enter the two-digit serial number(s) of the zone(s). You can enter multiple, e.g., 05 then 11.
- Press the [] button. (The icon appears on the display if there is a bypassed zone.)
Deactivating Bypass:
Repeat the activation steps.
Sending an Emergency Signal:
- Police – press button [1] for 3 seconds
- Medical Aid – press button [4] for 3 seconds
- Fire Department – press button [7] for 3 seconds
Note: This only works with an active remote monitoring subscription.
Resetting Fire (Smoke) Detectors:
- Press the [] button for 3 seconds.
Note: Fire and/or smoke detectors do not reset automatically after an alarm. They must be reset manually.
Button Brightness
- Press the [], then buttons [5] and [3].
- Adjust the brightness with buttons [2] / [8].
- To save [], to exit [].
LCD Display Brightness
- Press the [], then buttons [5] and [2].
- Adjust the brightness with buttons [2] / [8].
- To save [], to exit [].
Keypad Volume
- Press the [], then buttons [5] and [1].
- Adjust the volume with buttons [2] / [8].
- To save [], to exit [].
Disabling Standby Light
This setting controls whether the keypad backlight illuminates even when the device enters standby mode (i.e., has not been pressed for a while).
- Press the [], then buttons [5] and [4].
- By pressing button [1], you can set the backlight to illuminate in standby mode, while with button [2], you can set it to turn off.
- To save [], to exit [].


The "SK-LED button" keypad manages 64 zones and 8 areas. Areas can be assigned to individual keypads, in which case the keypad will only display the status of the assigned areas. This function is available from alarm control panel FW:SP3_xxx4_0121 version.
Tags:
Related Articles

Introducing the FLEXi SP3 – The Best Smart Alarm Control Panel f
- 10.08.2020
The Trikdis FLEXi SP3: smart alarm control panel with integrated communicator – versatile, fast and cost-effective.
Read More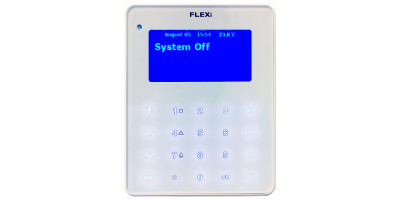
Firmware Update Process for the FLEXi LCD Keypad
- 06.03.2023
Step-by-step guide to updating the firmware of the Trikdis FLEXi LCD keypad.
Read More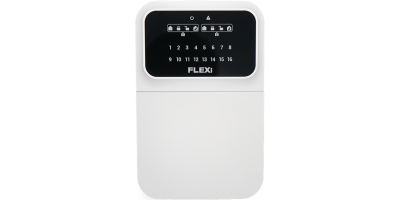
Trikdis FLEXi Keypad SK-LED button – Brief User Guide
- 10.07.2025
Quick user guide for the Trikdis FLEXi SK-LED button keypad: arming, disarming, code management, zone bypass and emergency functions.
Read MoreRelated Products

Trikdis FLEXi SP3 Ethernet smart alarm system control panel
Trikdis FLEXi SP3 Ethernet is a flexible, versatile smart alarm system control panel with integrate..
€139.90 Ex Tax: €113.74

Trikdis SK-LCD Button keypad
The FLEXi SK-LCD Button is a reliable and user-friendly keypad with an LCD display and physical butt..
€67.90 Ex Tax: €55.20